Mono Linux Setup
I started playing around with Linux a couple of years ago as I had some customer requirements that didn't fit with Windows. It was soon after that I decided to make the switch permanent and although I've enjoyed playing with new languages and frameworks as someone who has primarily been a .NET developer I've not found the ride entirely smooth. The biggest frustration is the fact Windows dominates .NET even with the announcement (some time ago now) that it would have official MS support for cross platform compatibility. There's a real dearth of tutorials and I've had to hunt about for scraps of information with little in the way of an end to end tutorial for building and deploying an app from development to production. So I decided to put together what I've learned (as much for my own reference as it is for others) and hopefully it can be of help to some like myself who are coming from the world of Windows GUI snap in consoles to the cold world of the Linux terminal.
The first part of this series will be setting up a Linux VM. For this demo I'm using Parallels on my Mac but you could just as easily use VirtualBox. I'm using Ubuntu Sever 14.04 because Ubuntu seems to be the best supported and 14.04 is the most recent LTS version.
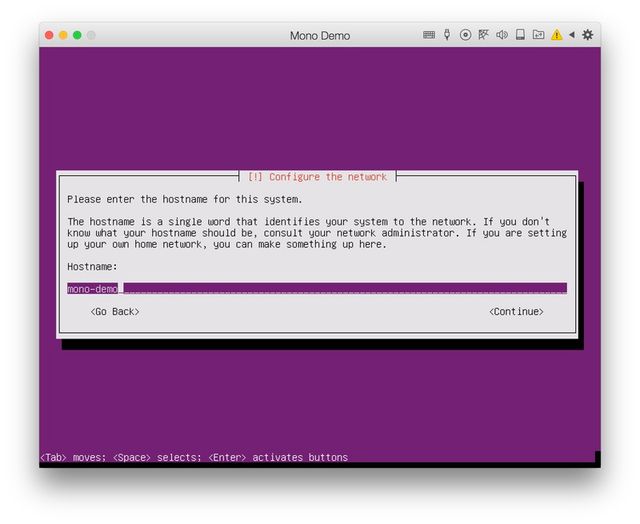
Usually when I setup a VM I name the server the same name as its OS but I already have one on my machine called "ubuntu" so I'll call this one "mono-demo".

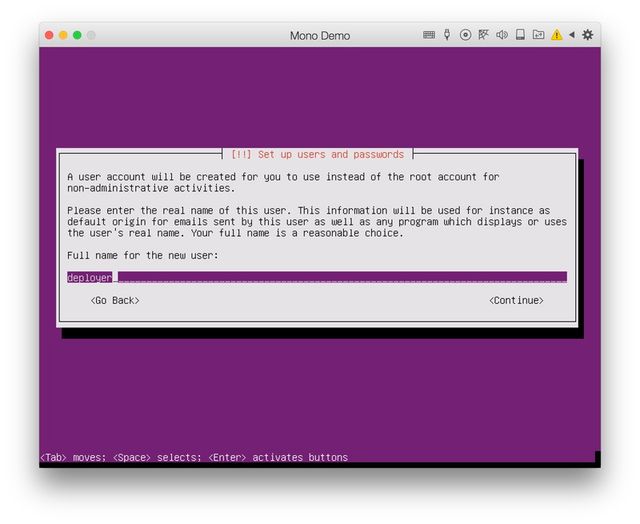
Then I just go through the defaults until prompted for a user which I call 'deployer' and give a simple password.

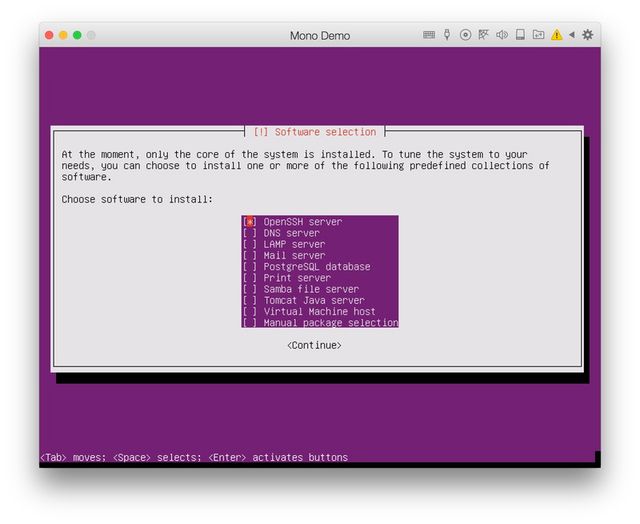
And then continue until prompted for the software selection. The only one I tick here is OpenSSH as otherwise I'll only be able to login to the machine directly. If you're using a VM on a cloud platform then you'll need to use SSH (for my part I find Parallels doesn't play very well when you access the Linux VM directly as the keys get 'sticky').

If you've skipped ahead and didn't tick OpenSSH you can always install it after with the following commannd:
sudo apt-get install openssh-serverThat's the end of the process for creating the server. Once the sever boots login with the credentails you created during setup (in my case the user 'deployer') so we're ready to install the required packages.
First we'll install the firewall so run the following from the terminal:
sudo apt-get install ufwNext enable the firewall and allow ports 22 and 80 for SSH and HTTP respectively. It's a good idea to test you can connect with SSH from another session before you exit your current terminal session just in case there are any issues and you don't lock yourself out!
sudo ufw enable
sudo ufw allow 22/tcp
sudo ufw allow 80/tcp
Now we'll install mono itself. The process is pretty simple and the documentation on the website is pretty good but for completeness I'll include the steps here. First run the following commands:
sudo apt-key adv --keyserver hkp://keyserver.ubuntu.com:80 --recv-keys 3FA7E0328081BFF6A14DA29AA6A19B38D3D831EF
echo "deb http://download.mono-project.com/repo/debian wheezy main" | sudo tee /etc/apt/sources.list.d/mono-xamarin.list
sudo apt-get update
If you're using a different version of Ubuntu from the one here (14.04) there may be some additonal steps but if not then just run the following:
sudo apt-get install mono-devel
sudo apt-get install mono-complete
There are a couple of other packages that are recommended, the first will prevent some framework errors and the latter is for SSL:
sudo apt-get install referenceassemblies-pcl
sudo apt-get install ca-certificates-mono
That's the mono installation complete. You can run the following which will print the mono details to the terminal:
mono --versionNow we'll just create and compile a quick Hello World app to show Mono can successfully run .NET code. For this tutorial I haven't shown how to install any of the tools I like to use such as "vim" and "oh-my-zsh" and if you're not used to working on Linux even simple things can be confusing. "vi" is the precursor to "vim" and is preinstalled on Linux and uses most of the same commands so we'll use that. From the terminal type the following to start the text editor and create a file named "hello.cs".
vi hello.csNow press the 'i' key once for insert so we can add some code. Then copy and paste the following:
using static System.Console;

class Program
{
  static void Main(string[] args)
  {
    WriteLine("Hello World!");
  }

}
Now hit escape so no more changes are made then type the following in the terminal:
!wqThe exclamation mark is what you put before sending a command to vim and the 'w' is for writing the changes and 'q' is for quitting. Once the changes are written compile the newly created file with the following:
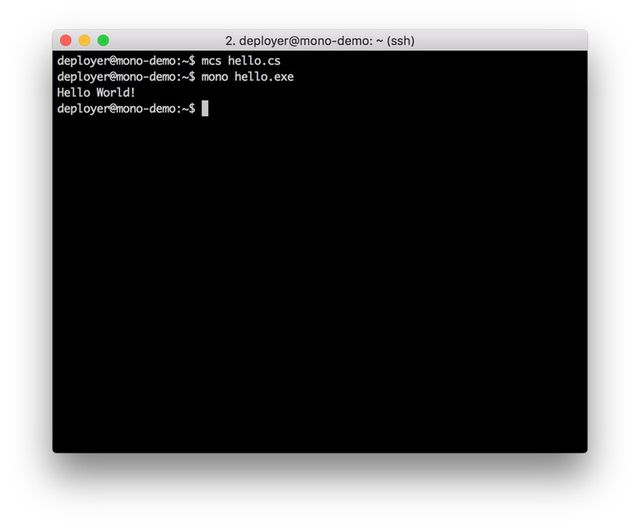
mcs hello.csThis will have created a compiled exe file which we can then run with the following:
mono hello.exeAnd this will hopefully print "Hello World!" to the terminal as shown below:

Okay that concludes the first part of this series, I'll be posting part 2 in the next few days and it will show how to configure the web server and run ASP.NET. If you have any questions please add them to the comments, thanks :-)