.NET Debugging Using Vim On Apple Silicon Machine
2022-10-26
I've mostly been using Vim for my development work recently. I have a JetBrains subscription but hopping between IDEs felt like overkill and I wanted something simpler. I have been an avid Rider user since it came out and I wanted to see if I could get the debugging working with Vim. It turns out you can.
There's a truly outstanding project called Vimspector which gets you covered for most of the languages you're likely to use (including C# in our case). The problem is it doesn't work for the (now not so new) Apple Silicon processor. I could get it to work using an x64 version of .NET but this felt regressive and I wanted to get it running on my M1 Macbook.
I'm not going to cover setting up Vim debugging for .NET but if you follow the videos on this YouTube channel you'll find everything you need.
Once you've installed everything you'll need to change the version of the debugger that comes with Vimspector. It uses the Samsung debugger but you need to compile it on your machine. Fortunately I found someone had already done a lot of the work already, you can follow the Github issue here.
First download a compatible version of NetCoreDbg here (this is just a forked copy of the pull request in issue 103) and cd into the repo:
git clone https://github.com/matthewblott/netcoredbg
cd netcoredbg
Then follow the first actions as instructed on the home page:
mkdir build
cd build
CC=clang CXX=clang++ cmake .. -DCMAKE_INSTALL_PREFIX=$PWD/../bin
Now is the part when I hit a snag. The next part is running the make command but it threw an error on my machine and didn't recognise the correct CPU type for some reason. You need to make a change to one of the C header files in the CoreCLR project that is dowloaded in the previous step. This is the file:
./netcoredb/.coreclr/src/pal/inc/pal.h
Go to line 2518 (or thereabouts) and make sure the _ARM64_ variable is set. When I tried I could only find the HOST_ARM64 variable which is supposed to be correct but it doesn't work. Make sure the file includes something like the following:
#elif defined(__APPLE__) && defined(_ARM64_)The PAL_CS_NATIVE_DATA_SIZE variable should probably be set to 80 but it doesn't seem to matter for this process.
Once the change is made save the file and navigate back to the build directory created earlier and then run the following:
make
make install
The created binaries will be in the bin directory at the root of the project. The final step is to copy the new binaries to the location Vimspector expects them to be:
${HOME}/.local/share/nvim/plugged/vimspector/gadgets/macos/download/netcoredbg/2.0.0-915/root/netcoredbgThe contents of the netcoredbg directory below root should look like the following:
netcoredbg
ManagedPart.dll
Microsoft.CodeAnalysis.CSharp.dll
Microsoft.CodeAnalysis.CSharp.Scripting.dll
Microsoft.CodeAnalysis.dll
Microsoft.CodeAnalysis.Scripting.dll
libdbgshim.dylib
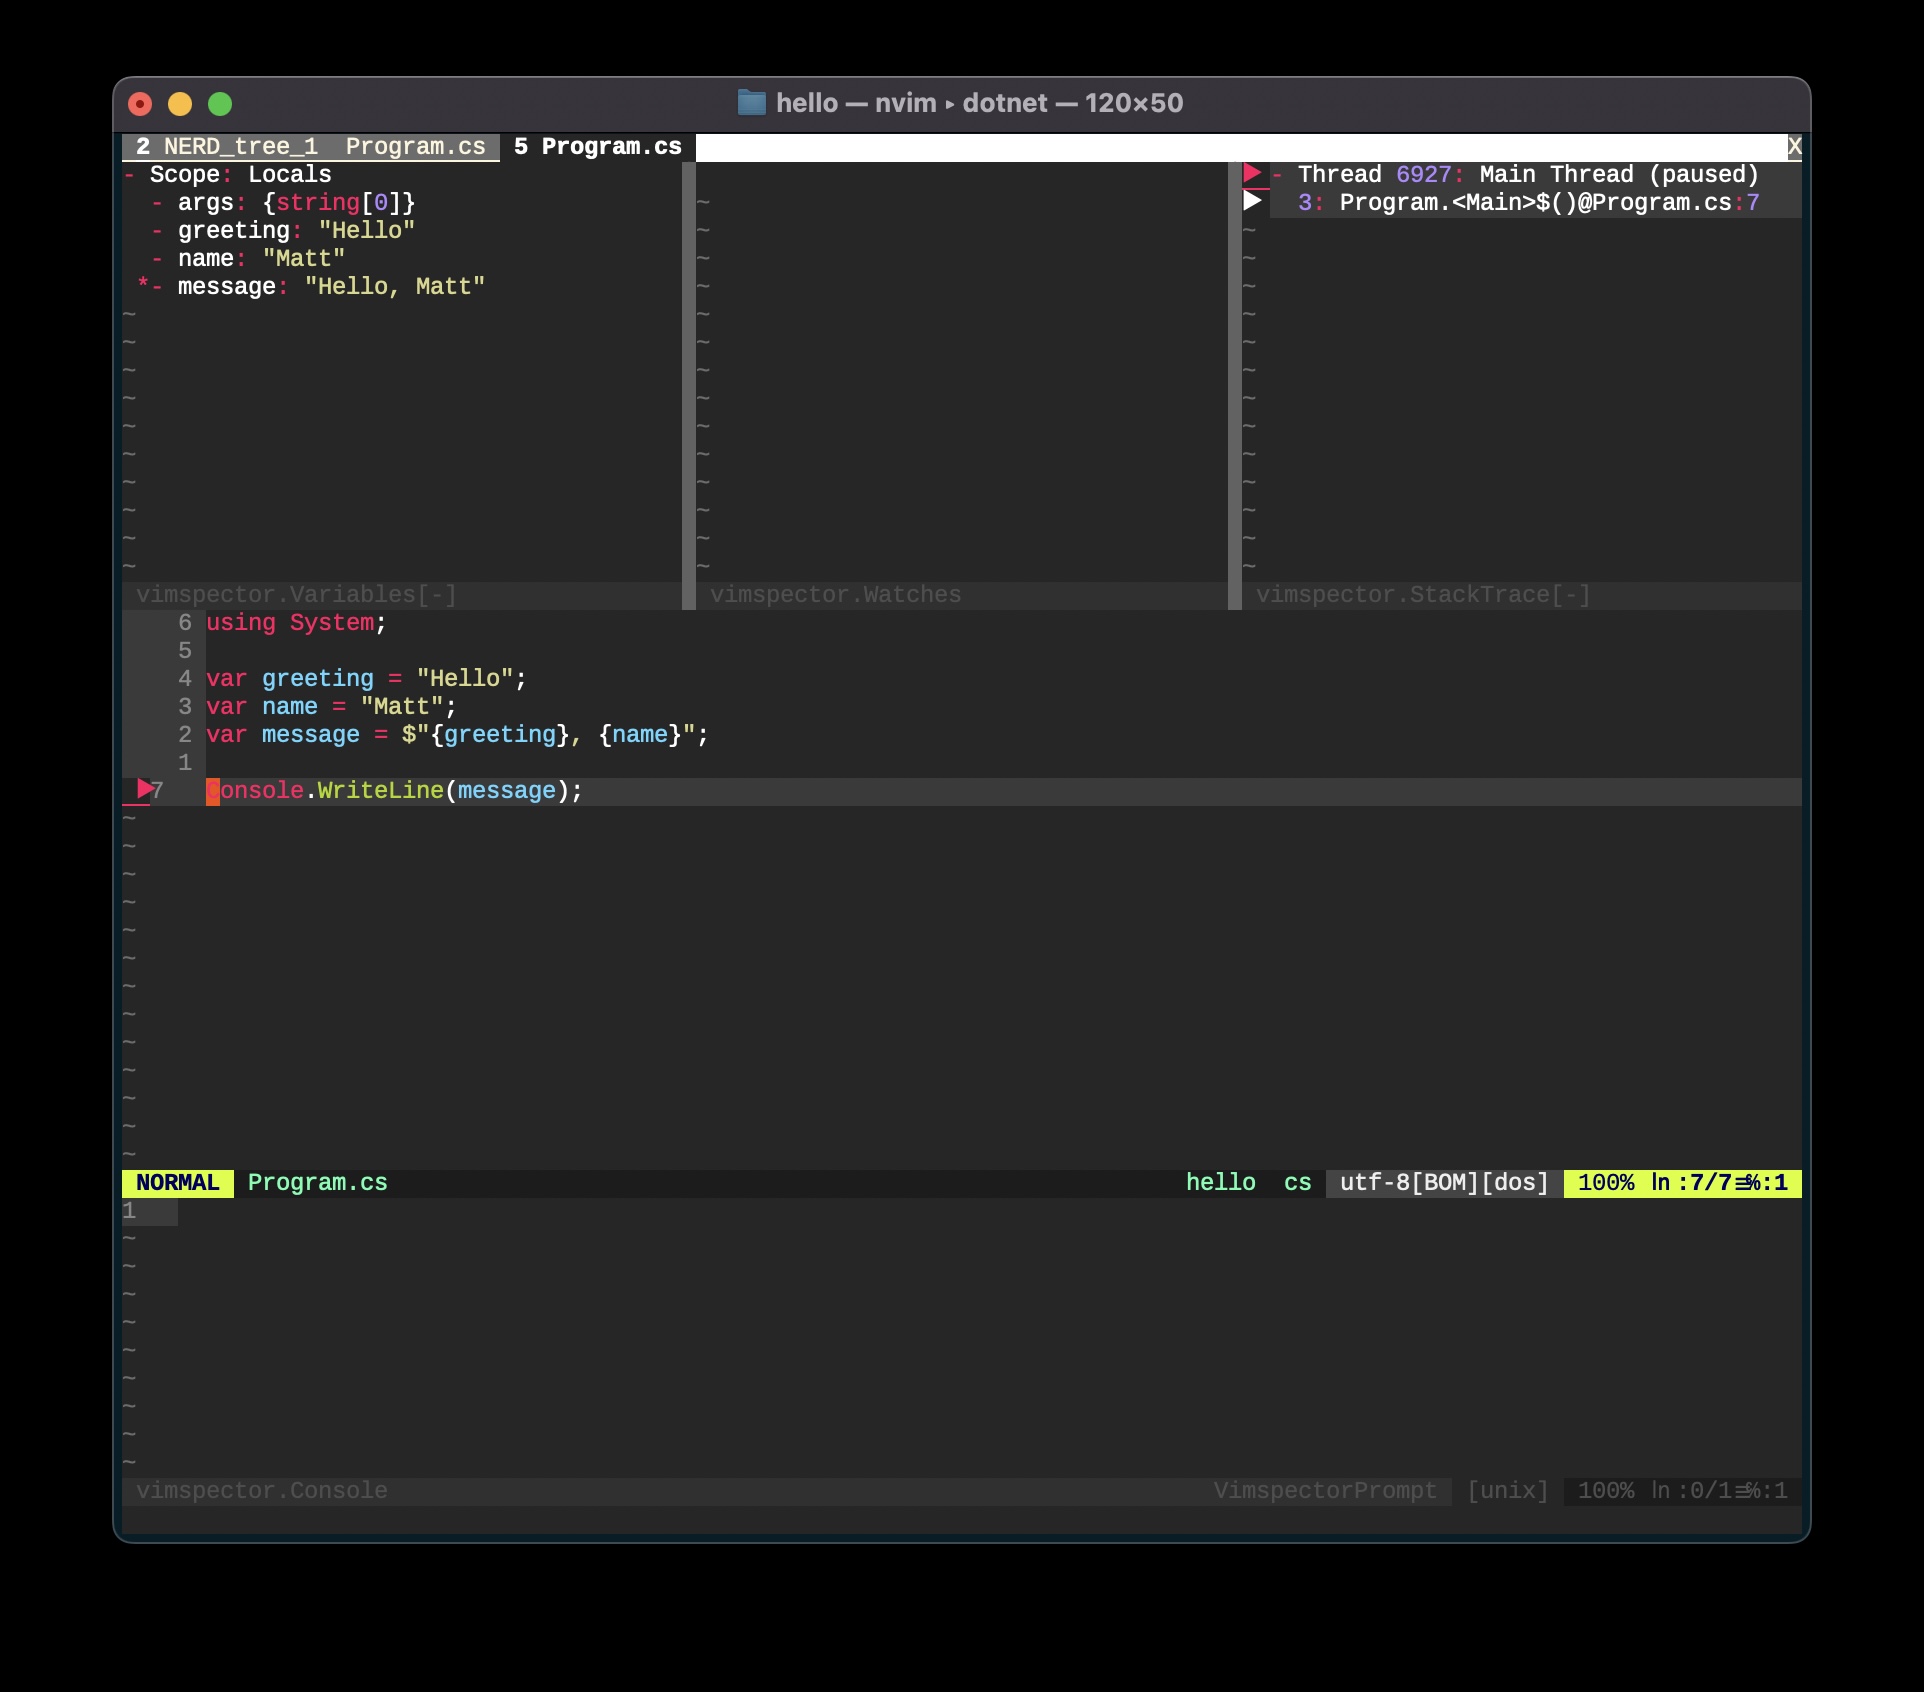
Now when I hit F5 in my project I can step through the code much as if I was using Rider or Visual Studio:

Useful Links
https://github.com/Samsung/netcoredbg https://github.com/dotnet/runtime/tree/main/src/coreclr