Rails Inertia Svelte Setup
I've been working with Rails a lot lately and I also happen to be a big fan of Svelte. Svelte is a sort of Rails for the front end (low barrier of entry, sensible defaults etc) and I wanted to get the two working together. I also wanted to use Inertia which is a sort of 'glue' between your front and backend that allows you to use standard controllers without having to write an API.
It's not well documented and I struggled a bit hence I thought it a good idea to jot down what I did.
I'm using the latest Rails 7.1.1 and the latest Ruby 3.2.2.
Setup Rails and Gems
First create a new Rails app:
rails new rails-inertia-svelteSome of the instructions I came across said you need to run with the --skip-hotwire flag. Initially I did this and disabled everything but after a few trials I found it didn't make any difference. I haven't done too much with it so far so maybe there's a banana skin I'm yet to trip on but so far I haven't had any problems.
Add the relevant gems:
bundle add inertia_rails
bundle add vite_rails
Install Vite:
bundle exec vite installSetup front end libraries
The previous step will create the package.json file so you can then install the required npm packages:
npm install --save-dev @inertiajs/inertia
npm install --save-dev @inertiajs/svelte
npm install --save-dev @sveltejs/vite-plugin-svelte
npm install --save-dev svelte
The above took a bit of jiggery pokery to work out what was needed but the above packages are the only ones required (though there are others that can be added).
Also another gotcha is make sure the package.json allows modules. To do so make sure the file includes the following:
...

  "type": "module",

...
Configure Vite Plugin
Add the Vite Svelte plugin to the project by editing the vite.config.ts file (found in the project's root). After editing it should look like the following:
import { defineConfig } from 'vite'
import RubyPlugin from 'vite-plugin-ruby'
import { svelte } from '@sveltejs/vite-plugin-svelte'

export default defineConfig({
  plugins: [
    RubyPlugin(),
    svelte(),
  ],
})
Next configure the vite.json file (located in the config folder) to point to the correct location for our entrypoint. The sourceCodeDir value needs to be frontend like so:
{
  "all": {
    "sourceCodeDir": "app/frontend",
    "watchAdditionalPaths": []
  },

...
In the next step we'll create the entrypoint we refer to above.
Setup Rails Svelte entrypoint
This step was a bit different in the few places I found examples however this seems to be the accepted and most orthodox way of organising the files.
First create the application.js file:
mkdir -p app/frontend/entrypoints
touch app/frontend/entrypoints/application.js
The contents of application.js should be the following:
import { createInertiaApp } from '@inertiajs/svelte'

createInertiaApp({
  resolve: name => {
    const pages = import.meta.glob('../pages/**/*.svelte', { eager: true })
    return pages[`../pages/${name}.svelte`]
  },
  setup({ el, App, props }) {
    new App({ target: el, props })
  },
})
Next create a front end Svelte component as an example.
First create the Home.svelte file:
mkdir -p app/frontend/pages
touch app/frontend/pages/Home.svelte
Then add some HTML markup to the Home.svelte component:
<h1>Home</h1>Generate Rails Code
To load our Home.svelte component we'll need a Rails controller which we'll create like so:
rails generate controller Home indexThen make sure the index method sends the correct response using the Inertia library:
class HomeController < ApplicationController
  def index
    render inertia: 'Home', props: {
      name: 'Inertia Rails'
    }
  end
end
To get the above to work on the main path edit the routes.rb file like so:
Rails.application.routes.draw do
  root 'home#index'
end
Final Steps
We're almost done. In fact we have everything we need but this bit is to make it a bit simpler to run. Create a dev file in the bin folder and make it executable:
touch bin/dev
chmod +x bin/dev
Edit the newly created dev file and add the following bash code:
# !/usr/bin/env sh

if ! gem list foreman -i --silent; then
  echo "Installing foreman..."
  gem install foreman
fi

exec foreman start -f Procfile.dev "$@"
Finally create the Procfile.dev file which is referred to above:
touch Procfile.devAnd then add the following lines. The p flag is important and is what caught me out:
vite: bin/vite dev
web: bin/rails s -p 3000
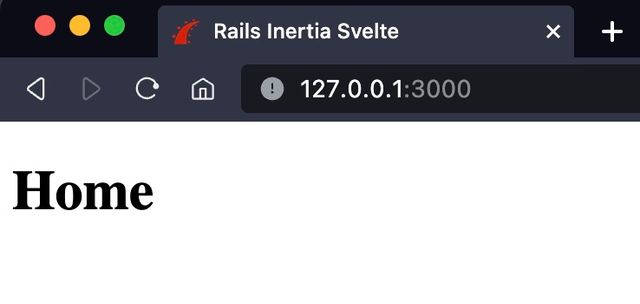
And that's it! Now you can run bin/dev from your terminal and you should see something like the following:

That's not very exciting but it's the minimum to get going with Svelte, Inertia and Rails. I prefer minimal setups that don't overwhelm you when I'm starting so I hope this is helpful. The source code can be found here.